Polarizing Filters or screens
If you use an SLR camera either digital or film, the single most helpful accessory you can own, other than a tripod, is a polarizing filter. This seemingly simple bit of glass that screws to your lens in a rotating mount performs a host of remarkable photographic feats, including darkening blue skies, removing reflections, and increasing colour contrast and saturation. The physics of how it works is quite complicated. Light that is reflected from an object bounces of other surfaces eventually striking a range of other objects diluting the intensity of their colour. So what we see is not the actual colour of an object but the colour of the object with a multitude of other reflections.
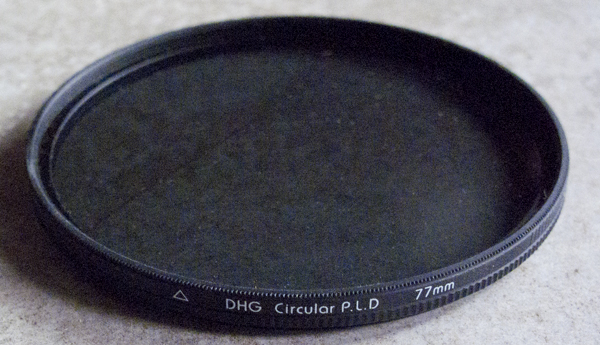 |
Circular Polarizing filter
77mm denotes the thread diamiter of the lens to screw it on |
 |
|
Mouse over |
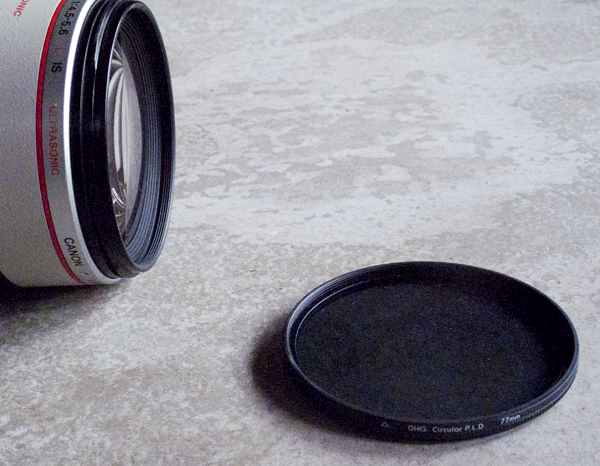
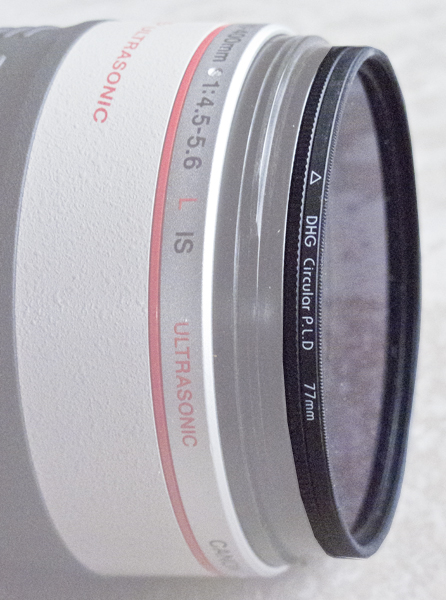
The filter has rings, one that rotates within the other
the first ring screws onto the camera
the second ring rotates to adjust the polarizing effect. |
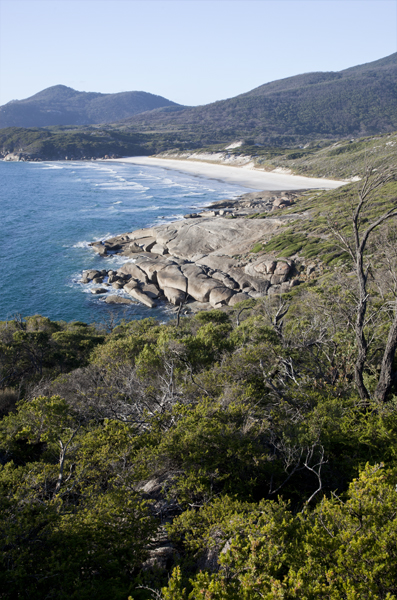
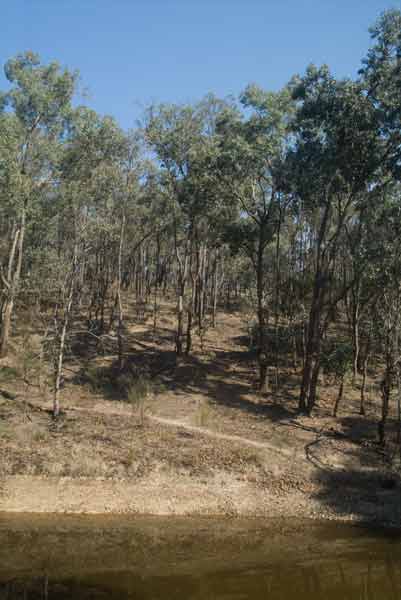
A scene sot without the polarizing filter |

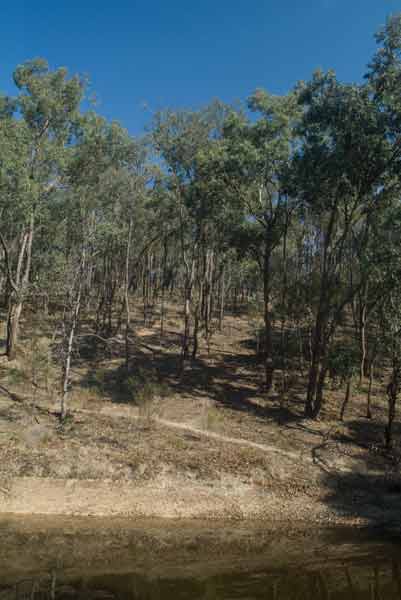
Shot with the polarizing filter - notice the water, rocks sky and foliage appear more vibrant |
 |
The Polarizing filter is like a set of blinds that only lets through the rays of light from the initial reflection of the scene so the colour in the scene looks saturated and vivid, reds are red, blues are blue and greens are green. |
 |
Using one is simple: All you do is turn the filter until you
see the effect you want in the viewfinder, and then shoot. The filter is set up like a series of blinds and needs to be rotated to only let the initial reflection through while restricting any secondary reflections. |
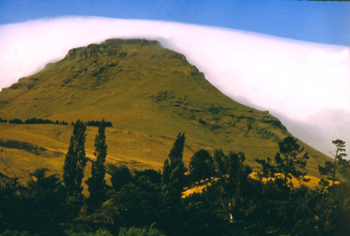
Polarizes are most commonly used to darken blue skies in outdoor and scenic photographs by cutting through atmospheric haze. We see them used in may of the calendar and table top books where the images look hyped up in colour. They work with both colour and black-and-white films to create a striking contrast between deep sky and white clouds. However the filter only works when the sun is at about 90 degrees from the angle you're facing; in other words, the sun or light source must be to your left or right or overhead, but not behind or in front of you. Nor does the effect work on overcast days. Take care to use sky-darkening in moderation; too much saturation can make skies look ominous and unnatural.
Scene with out a polarizing filter |
Same scene with a polarizing filter - notice the blue colour of the sky - the green foliage of the trees - |
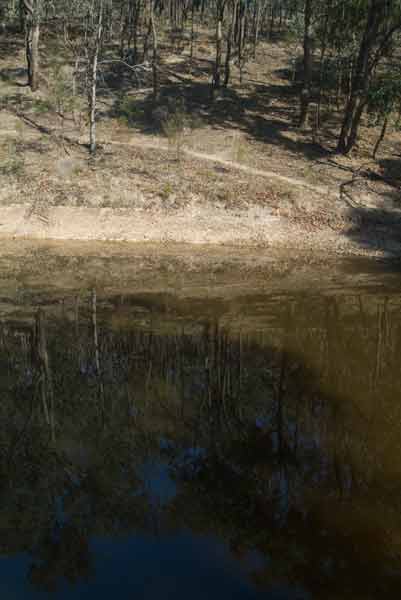
Scene with out a polarizing filter |
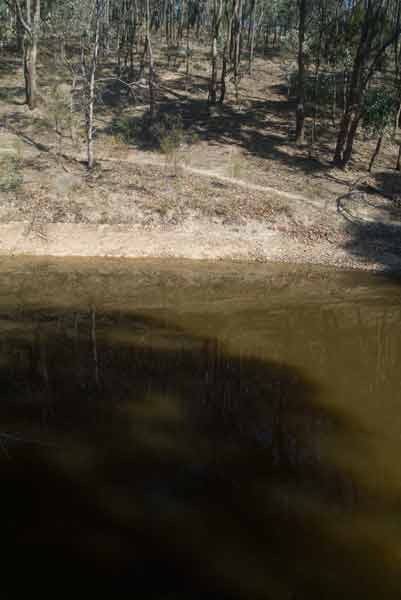
Same scene with a polarizing filter - notice the reduced reflection in the water |

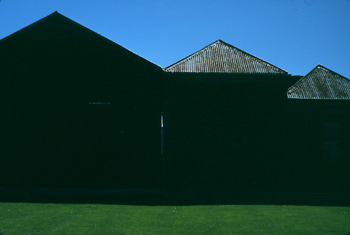
Mouse over this image we see the difference between without a Polarizing filter and with - notice how the clouds have a richer tone and texture and also how the water is richer -
Removing reflections in glass with a polarizing filter -
Polarizers are also handy for removing reflections from non-metallic surfaces, like glass or water. If you're trying to shoot a store-window display or little fish in a tidal pool, just turn the filter until the reflections vanish. The effect works best when you are at about a 35-degree angle to the reflecting surface. You can even use a polarizer to remove the myriad infinitesimal bits of reflection and glare in outdoor scenes, making subjects like foliage and grass vibrant and rich with color. The only drawback to using polarizing filters is that they do absorb some light usually about 1 1/3 stops. Most through-the-lens meters will compensate for the lost light, but be sure you are using the right type of filter. Manual-focus cameras use a linear polarizer, while many auto focus cameras use a circular version. Check your camera manual to be sure.
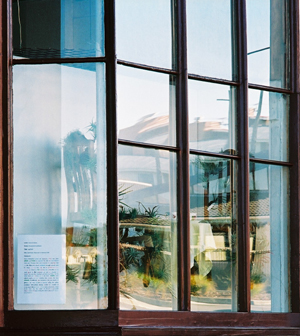 |
I used a Polarizing filter for the documentation of the Sup/Port installation. Notice how the reflection on the large glass window is removed while the reflection on the side window remains - In each case this relates to the angle of the light.
Mouse over to view image |
While you can use the filter with any camera with a SLR you can see the effect in the viewfinder while with other cameras you have to hold it up to the scene rotate it and then place it on the lens.