Making large
Van Dyke brown prints:
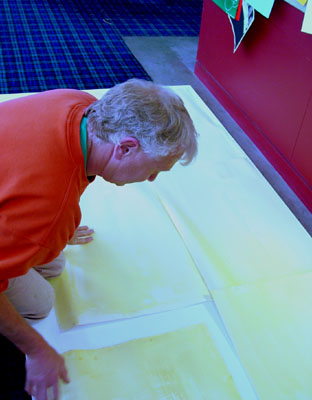
Step 1:
Coating the paper
Once the paper has been coated and dried the equipment
need to create the large work it assembled in a suitable location. In
this case a large sheet of wood panel is used to lay the work out on
and give support when the glass is laid on top to hold the negative
flat.
This is done in an area of subdued lighting
adjacent to the exposure area which will allow time to arrange the paper,
neg etc. and then allow for the paper to be retrieved at the end of
the exposure.
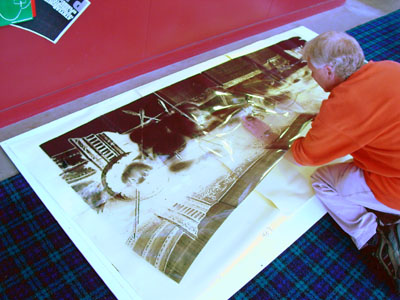
The sensitized
sheets are quickly laid out on a board with the edges of each
sheet butting up to each other or over lapping. If there are any
flaws or holes in the sensitized emulsion where the paper was
not fully coated these are positioned on the matrix to take advantage
of the design of the image. |
 |
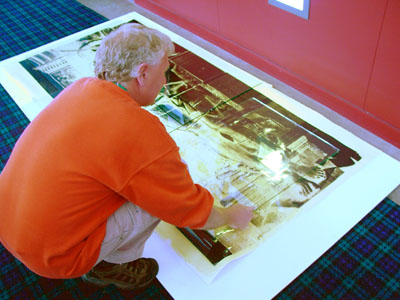
Step 2:
Then the large composite negative is laid
on top of the sheets. The paper may move slightly and need to be readjusted.
Large sheets of glass are laid on top of the sandwich of coated sheets
and negative to hold it all in place. Because of the nature of the composite
photocopy negative in this case the exposure marks of the glass edges
was anticipated and considered a part of the work. If you want to eliminate
this you will need to find a very large piece of glass and a method
of handling this.