Sequence viewing > Index - Alternative Photo Emulsions - Resource - ©
Lloyd Godman
Step 7. - Final Wash & Dry:
Wash
print in running warm water as for normal photographic prints for about
20 mins to an hour. A bath of Hypo clear can be used to speed up the
washing.
Depending
on the nature of the paper, it can become fragile and tear or break
up when soaked for a long period and this is particularly so with larger
sheets of paper. Delicate papers can be taped down onto a baseboard
for processing.
While
it is best to wipe all surfaces when the chemical mixture is wet, any
marks left by the emulsion on working surfaces that have dried can be
cleaned up relatively easily with water. Tap water may be used for the
wash, but use distilled water for best results.
Step
8. - Drying the Print:
Hung
up to dry with a clothes peg as for any photographic print, or lay flat
to dry.
Larger
sheets of paper are heavy and can tear or buckle significantly when
drying. With large sheets I tend to hold the paper up in a curved cradle
to give it support until all the excess water has run off before hanging
up.
If
you use 3 or 4 pegs to hang a large work keep and eye on it as it dries
to readjust the pegs. If the work is left, it may shrink as it dries
and end up with a winkle or pucker.
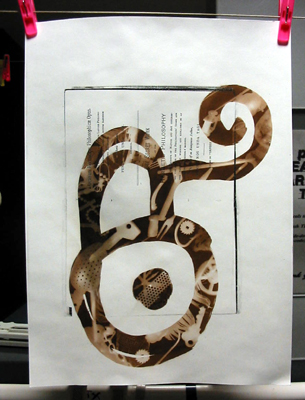
Note
the darker brown colour of the final print
NOTES:
· Mix small amounts first (about 20 ml or 1/2 oz, for example).
Then mix more sensitiser as needed. · The powdered chemicals
keep longer than the stock solutions. · Stock solutions will
keep several months or longer. · Other recipes with different
proportions exist; stronger or more dilute solutions may work better
for specific situations. 20 ml sensitiser solution makes 5-10 8"x10"
prints, depending upon coating techniques, absorbency of paper, brushes,
and other variables.
Want to learn more? - do a workshop or one on one with Lloyd Godman
|