![]() Home
Home![]() next
page
next
page
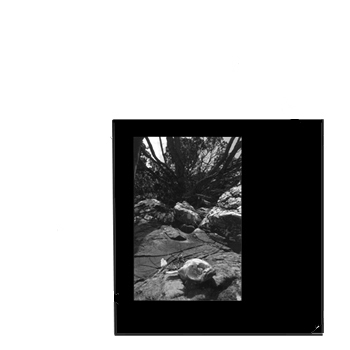
Printing
a black Background:
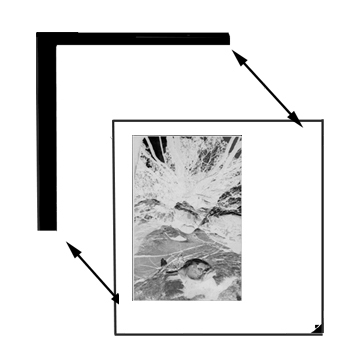
Step1:
First place an L shaped template in the corner of
the easel, and line the image up to the inside edge of this.
The width of this template depends on how much space you want
around the image, and for the best results it pays to spend
some time working this out before hand. Make sure it is
aligned exactly where you intend the image to go, and when it
lines up, remove the template. |
|
Step2:
Make the exposure in the normal manner, the image should fall onto the
centre of the paper. If the paper has a curl and won't sit flat, use
some small magnets to hold it down onto a metal base. I use a an old
easel that has no arms.
Step3:
Leaving the Photographic paper in position, put the first L shaped mat back in place, and place the second rectangular mat, cut to a size just smaller than the image, to fit tight into the top left corner of the first L shaped mat, and use a small magnet or weight to hold it firm. The purpose of this rectangular or image shaped template is to cover the area where the latent image from the first exposure is. |
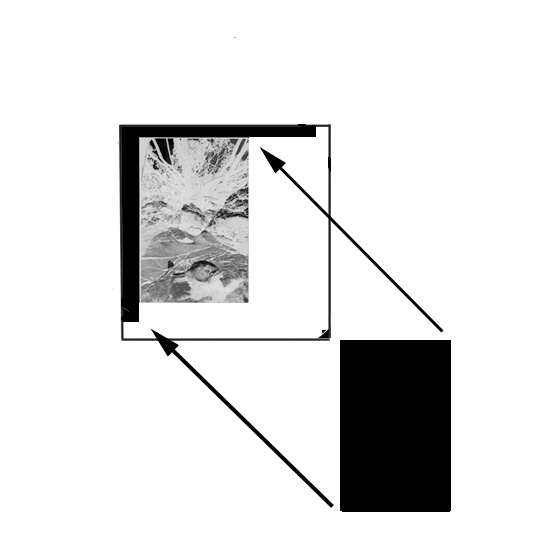
|
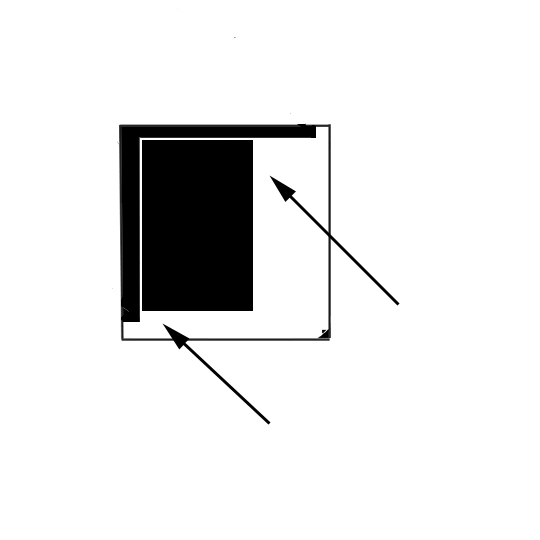
Step4:
Once this is in place remove the L shaped template leaving
the other mask in place |
|
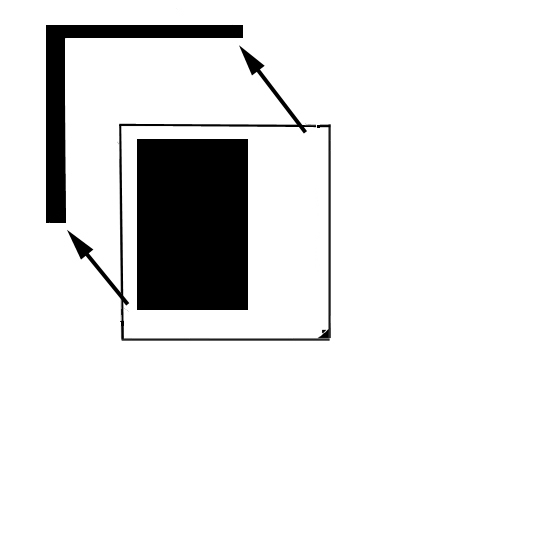
Step5:
Remove the negative and set the enlarger up so that the area of
projected light covers the entire sheet of paper, and expose the
paper to produce a maximum density black. |
|
| Step
6:: Then develop the pint in the normal manner. |
|
![]() comment
on this resource
comment
on this resource