Photoshop Techniques
Adding a boarder around a photograph to put text onto
|
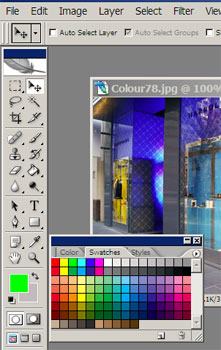
Once you open the file and have your image on the screen. Chose the colour for the boarder from the swatches - do this by mousing over the colour. |
|
|
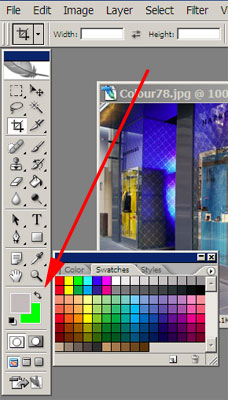
It will appear as a foreground colour at the bottom of the tool box change it to the background colour by clicking on the arrow |
|
|
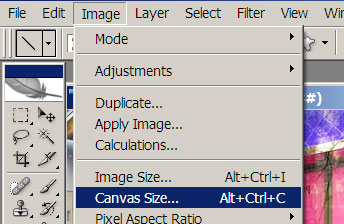
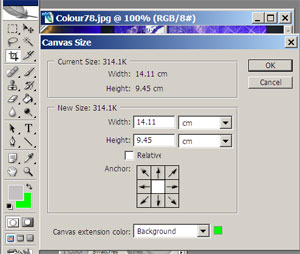
go to IMAGE - CANVAS SIZE this will allow you to leave the image at the same size while placing a boarder around it. |
|
|
The image is the white square in the centre. you can position it to the top right or any other position by clicking on an arrow.
|
|
|
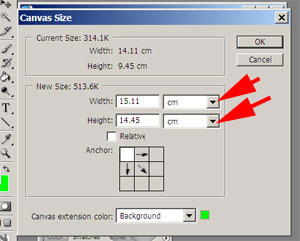
Lets position it to the top right. and change the size to width 15.11 and height 14.5 if you click on the arrows you can change the dimensions to inches pixels etc.
if you click on background you can change the colour |
|
|
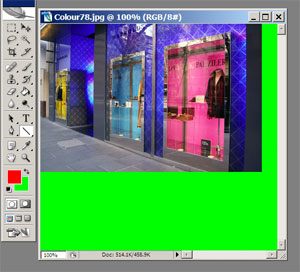
When
you click OK the image should look like this |
|
|
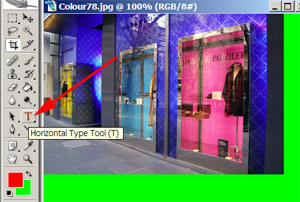
The next step is to select the text tool - the text will appear in the foreground colour | |
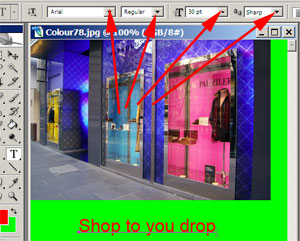 |
You can alter the font - Style, size etc at the top The text sits as a layer separate to the image and you can move it around alter the words or colour at anytime.
|
![]() Comment on this resource
Comment on this resource
© Lloyd Godman