 |
Sequence viewing > Index - Digital Post Production - Resource - ©
Lloyd Godman
Selective areas of colour in an image - Converting areas of an image to black and white while revealing other areas in colour -
Here is a sequence of how to reduce an image to B&W while retaining selective areas in colour in Photoshop.
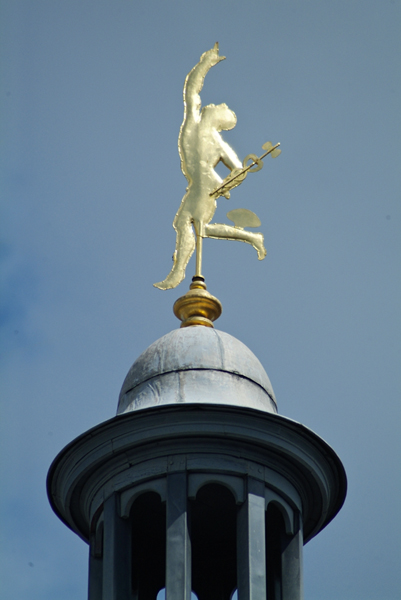 |
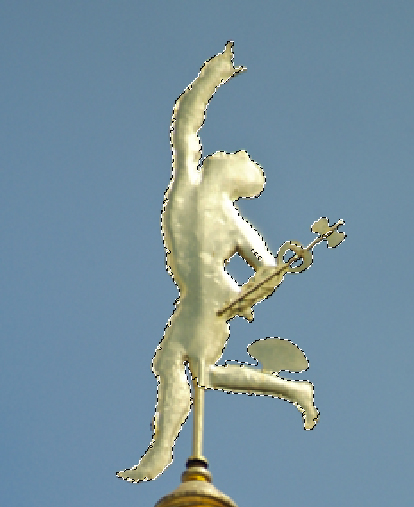
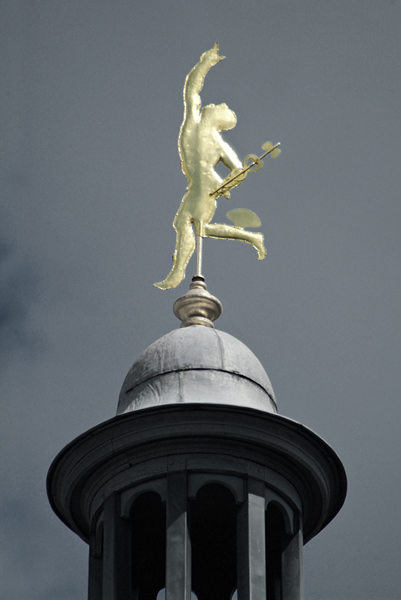
This is the original colour image - imagine we want to have the sky black and white and the angel weather vain in colour |
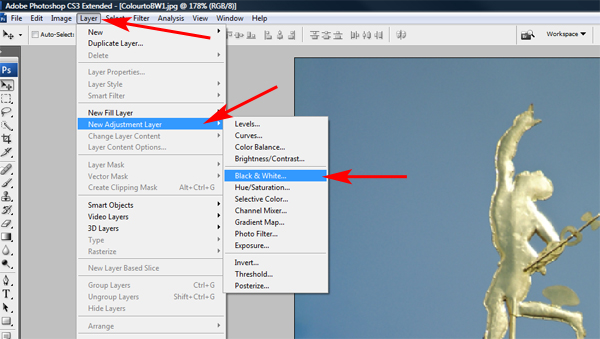 |
Select layer >> New Adjustment layer >> Black& White |
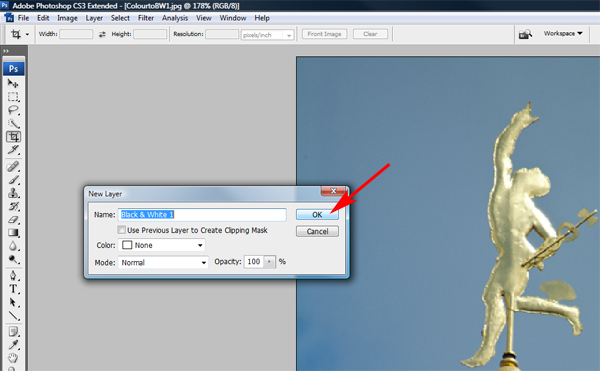 |
Click OK >> |
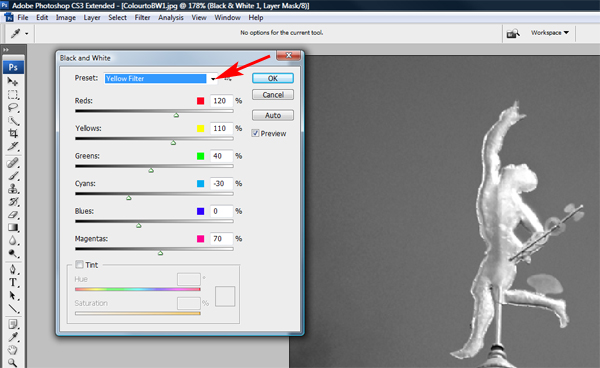 |
This dialogue adjustment box will appear - with you can adjust the relationship of the various colours in B&W - in this case I have selected yellow filter - but you can also adjust each of the colours individually. |
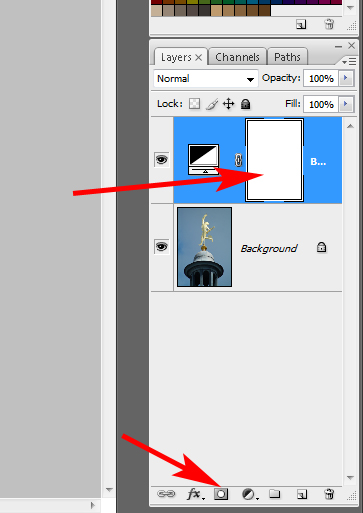 |
In the layers panel you will see a white box in the B&W adjustment layer - |
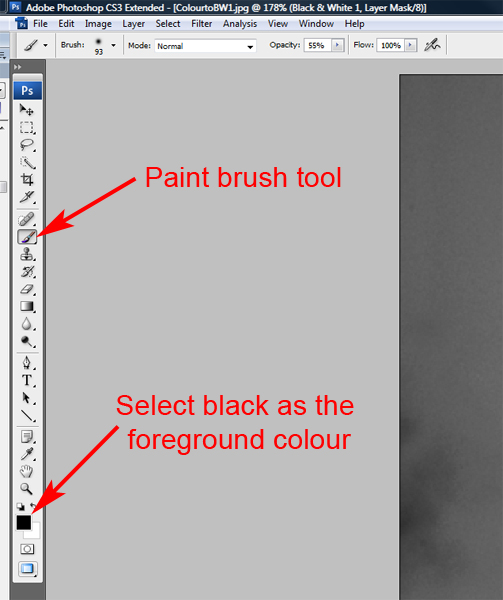 |
when this mask is activated we can paint in black with the paint brush tool and the B&W adjustment layer in this area will be erased revealing the colour in the background layer below. |
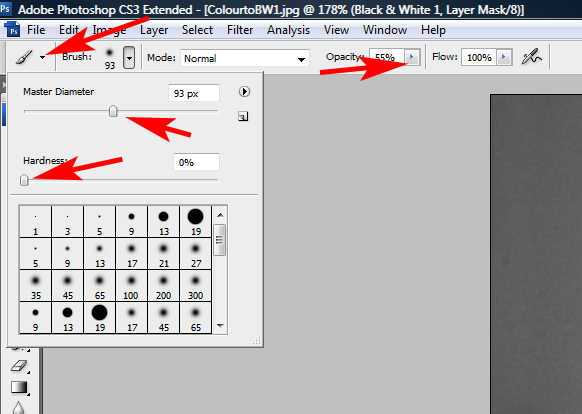 |
Play around with this By clicking on the black Triangle top left of this image - we open a box that allows us to set the diameter of the brush, the hardness, opacity etc.
Play around with this until you get the effect you are after. |
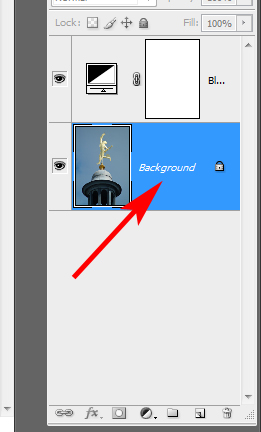 |
While we can simply paint over the area we want to reveal the colour on the master layer below, we will have more control by selecting the desired area and then painting to reveal the layer below. So select the background layer -
If you find it easier to work in colour for this selection - turn off the B&W layer by clicking on the eye symbol and click on the background layer - it should become blue. |
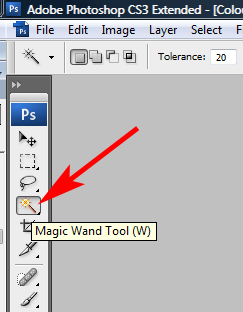 |
Select the magic wand from the tools palette > - |
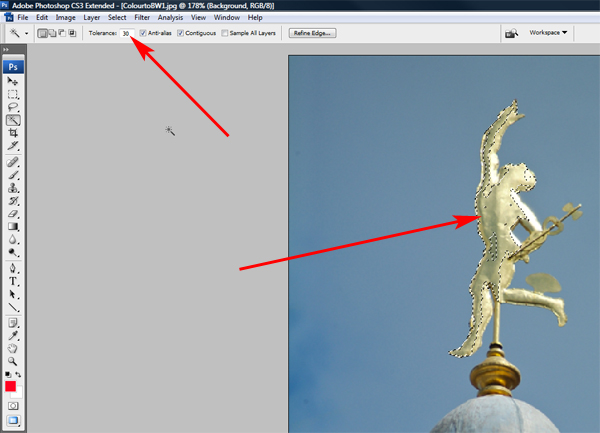 |
By clicking on the area we want to select it will be highlighted with blinking lines - if it selects too much and includes areas outside the desire area, we can alter the tolerance of the selection tool at the top.
Work with a lower tolerance - if the tool selects only a portion of the desired area add to the selection by holding down the shift key and continuing to select.
We can also enlarge the image to allow more accurate selection. |
 |
If the tool selects too much and includes areas outside the intended selection - simply go to Ctrl Z, or edit back and then change the tolerance to less - and then hold the shift key and try the selection again. |
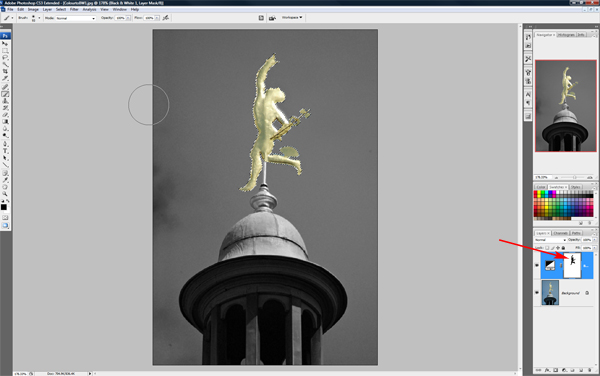 |
Turn on the B&W layer again, select the B&W adjustment layer ( it should turn blue) and use the brush tool to erase the area - remember we can alter the opacity which mean the effect could be from 1- 100 % |
 |
The area we have painted will show as black in the mask. |
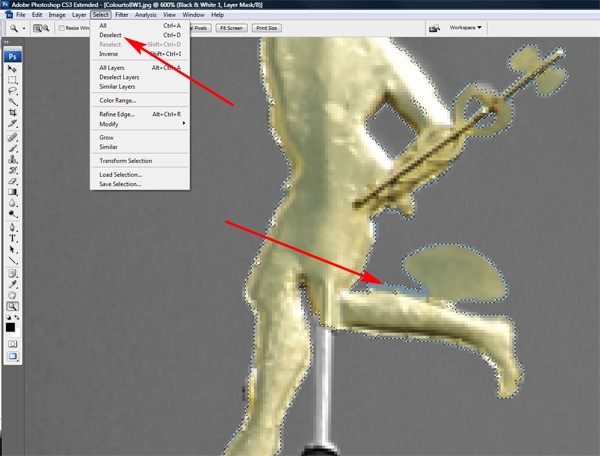 |
You can deselect the area - click on - select - deselect - or Ctrl D - notice how there is a little cary over into the blue sky - |
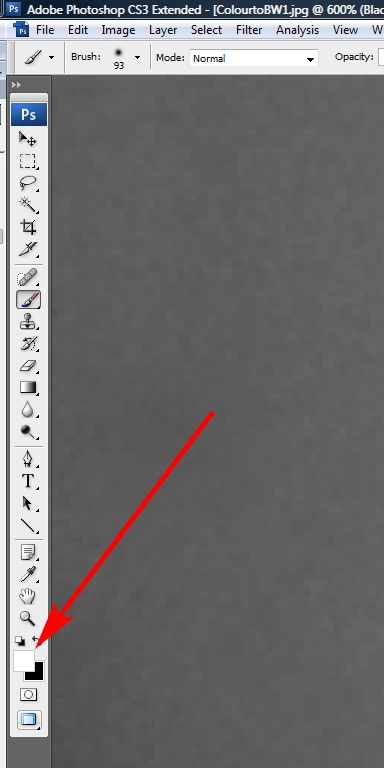 |
We can clean this up by selecting white as the foreground colour and applying the brush to these areas in the B&W layer - you will need to set the brush diameter right back to a few pixels. This removes the effect of the black on the mask - because we are working on a layer mask, we can repeat this as many times as we need to. Use black to reveal the colour, white to hide it. |
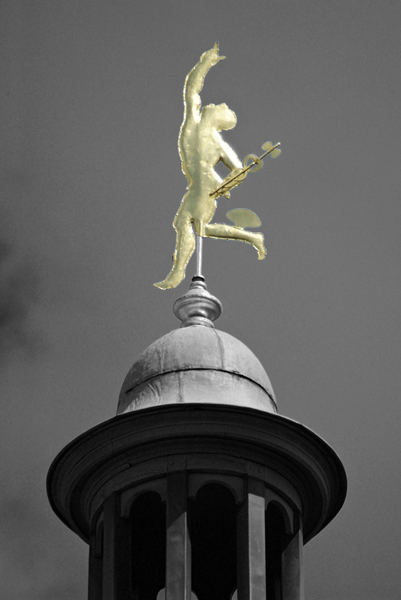 |
Here is the image cleaned up |
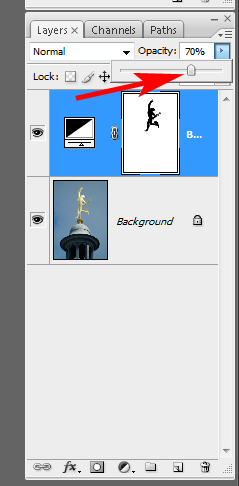 |
Because we have worked with an adjustment layer we can turn this off at anytime and still have the original colour image, also we can alter the opacity of the layer - in this case to 70% so there is still some blueness in the sky. |
Original |
With Black and white layer on 100% |
With Black and white layer on 70% |
Want to learn more? - do a workshop or one on one with Lloyd Godman
|