![]() Home
Home![]() next
page
next
page
Paper Exposure
Making
a test strip to establish the correct exposure for the print
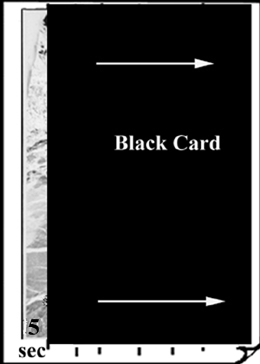
The
normal means of making test strips is used where an exposure
of say 5 seconds is repeated progressively across the paper
by blocking the light to certain parts with an opaque card.
|
|
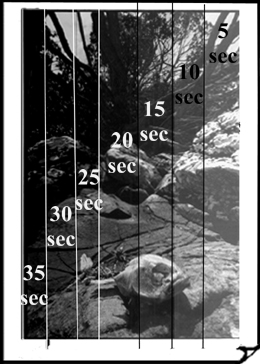
To gain an accurate insight into the correct exposure it helps to use large pieces of photographic paper for test strips rather than thin strips. As you need to see the full range of potential exposures across as many tonal areas as possible it helps to run the test through these areas as in the case of the illustration where the sky, background and land appear in each exposure test.
|
When
developed it provides a print with a range of exposures from
5 seconds to say 35 seconds across a wide tonal variation
on the print. From this test strip or print an accurate exposure
can be worked out for the whole print. If the exposures all
appear to dark or light then readjust the base time from 5seconds.
Remember light darkens silver. |
|
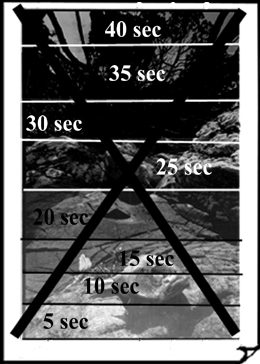
If the test exposure were run across the image and the card pulled down, it would show the sky as one exposure the background as another etc. and it would become difficult to evaluate the appropriate exposure for the various areas. With images where there is an area of sky, ocean and land this is even more essential to move the card across the image. |
![]() comment
on this resource
comment
on this resource